
Be it a positive or a negative, we’re in the day and age where almost nothing you see online (except your 60-year-old Auntie’s Instagram feed) is unedited.
Contrary to popular belief, we don’t all have to lug around a Canon 1D X like your favourite neighbourhood influencer to get a good shot. There are some easy tricks everyone can follow that’ll make their iPhone photos look just as good. Let us explain a little further.

Almost every photo you see in this era is viewed on a phone screen, so naturally, any photo that takes up as much of the screen as possible becomes instantly more visually appealing.
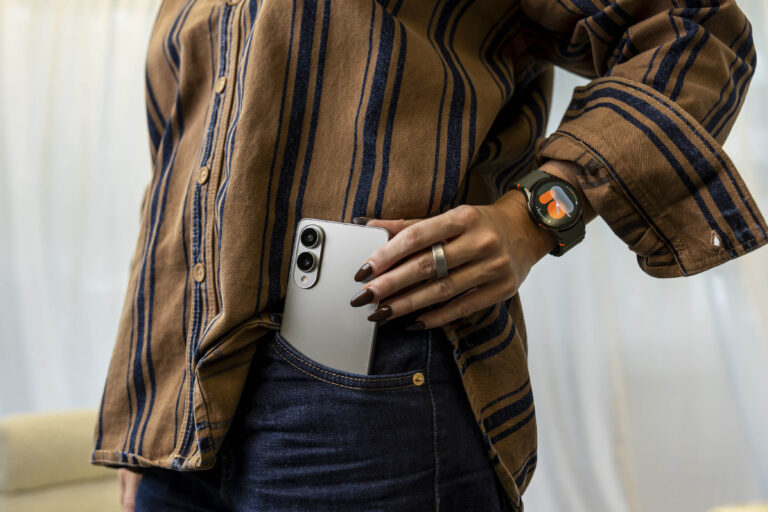
First of all, if you can take your iPhone photos in portrait, or even portrait mode (when shooting people), then that’s the ideal start. The perfect ratio for uploading to social media is 4:5, meaning it’ll take up the optimal amount of the feed as to fully encompass a viewer’s screen when scrolling, which in-turn will maximise any social media engagement.
For Instagram stories, 9:16 is the ultra-long portrait ratio alternative. However, if you’re planning to upload something to your story, make sure your subject is centre frame keeping the thin width of the shot in mind. Both of these ratios can be effortlessly applied on Adobe Lightroom for iPhone (which is also free).
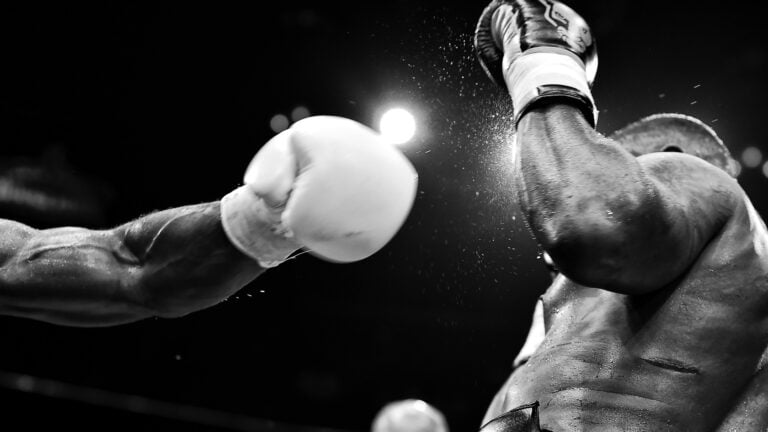
Lighting is more common sense than anything else, but you’d be surprised how uncommon even that is. It’s the simple things when you’re actually taking the photo that can make your editing job a whole lot easier afterwards.
Don’t: Take a photo with the sun behind your subject (duh).
Do: Shoot during golden hour (just after dawn or just before dusk) if you can to give you some really nice lighting to play with.
When editing, brighter is almost always better, but just because you can bump up the lighting in your photos doesn’t mean you always should. Stay away from the ‘exposure’ levels if you can help it and preferably focus on the ‘highlights’ and ‘shadows’ instead. If your subject is slightly darker than the background, bump up the shadows. In contrast, if there’s something glaringly bright about your shot, whack the highlights down a touch to create a more equal experience for any eyes viewing your photo.
RELATED: The 10 winning photos from Apple’s ‘Shot on iPhone’ competition
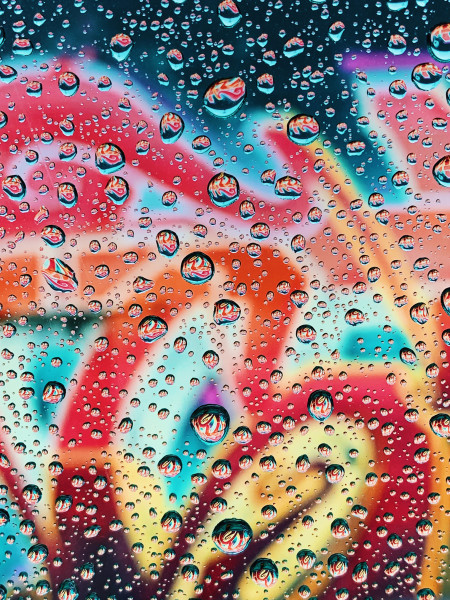
While apps like Adobe Lightroom and even Instagram allow you to tweak particular colours in your snaps, we’d recommend you just pick a stock filter on Lightroom that fits the colours already in your photo and then adjust its potency accordingly. The goal is for someone to look at your photo and not realise it’s been edited.
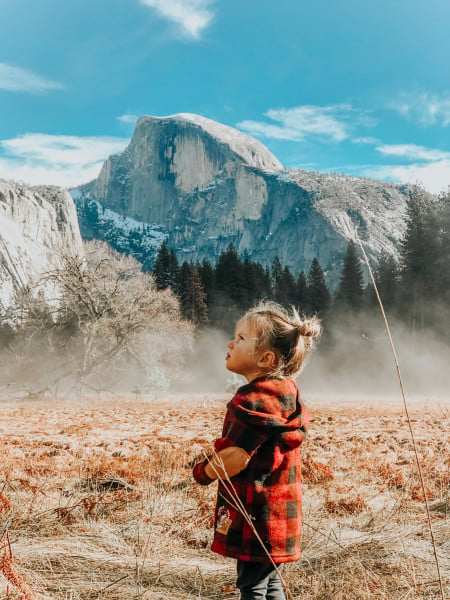
If you do want to tweak specific colours, don’t overdo it on the saturation. We’d suggest looking at ‘luminance’ first. This can sometimes give the impression of a greater vibrancy without looking like you’ve just gone full 2012 Instagram filter on the whole thing. Mucking around with blues and yellows are really all you’d need to do to adjust the sky or skin tone to a more realistic hue. It’s a fine line though, so don’t overcook it.
While we’d never advocate for complete facial reconstructions that some models apply using apps like FaceTune, if you’re keen to obscure an annoying blemish in the skin or brighten a specific part of your photo (i.e, someone’s face that’s in a shadow), then check out an app called ‘Snapseed’.
It’s not really good for anything else other than selectable touch-ups but play around with the ‘brush’ and ‘healer’ tools to sprinkle a little magic on your final product if necessary. Again, don’t take it too far or you’ll end up looking like that Tinder match who you thought was a 10 but was actually a 4 in person.
We do this for a living, so it’s often necessary for us to spend the extra time tweaking an important photo. For the rest of us, however, it’s fair if you don’t have the time or equally don’t really give a shit. In all honesty, Instagram’s built-in filters can probably do the trick for you just fine.
The IG story filters are different from the permanent post filters, but we’d recommend simply choosing one that you like and sticking with it. Again, adjust the potency accordingly by dragging the dot from left to right.